Most renovations that go wrong don’t fail on the day the tile goes in. They fail months earlier, in a decision that was rushed, skipped or made in the wrong order: a finish chosen before the layout was settled, a budget that only counted what you can see, a wall opened before anyone knew what was inside it. By the time the problem shows up, it’s expensive to undo.
This step-by-step home renovation checklist follows a remodel the way it actually unfolds, from the first conversation to the final walkthrough. At each stage you’ll find what needs to be decided, and the mistake we see most often at that point. Whether you’re planning a single kitchen or a whole-home transformation in St. Pete or Tampa, the sequence is the same, and getting it right is what keeps a project calm, on budget and built to last.
Key Takeaways
- Renovations are won or lost in planning. Settle goals, layout and selections before demolition, not during it.
- Budget for the parts you don’t see, such as drains, supply lines, framing, electrical capacity and waterproofing, and hold a contingency for what the walls reveal.
- Older Tampa Bay homes carry their own risks, from slab moisture and rot to lead paint, asbestos and flood-zone rules, so assess the house before you design around it.
- Every inspection is a checkpoint. Don’t close a wall, pour a floor or pay a final invoice until the work behind it has been checked and documented.
The Checklist at a Glance
Here is the whole sequence on one page. Each stage is covered in detail below.
| Stage | What to settle | The mistake to avoid |
|---|---|---|
| 1. Goals | How you want to live in the space, and what must change | Starting with finishes instead of function |
| 2. Budget | A real number, allowances and a contingency | Budgeting only for what you can see |
| 3. Assessment | Structure, systems, moisture and code constraints | Designing around a house you haven’t inspected |
| 4. Team | Who designs, who builds and who manages permits | Choosing on the lowest bid alone |
| 5. Design and selections | Drawings, every finish and every fixture | Making decisions mid-construction |
| 6. Permits and schedule | Approvals, lead times and where you’ll live | Ordering late and starting early |
| 7. Demolition and rough-in | Framing, plumbing, electrical and inspections | Closing walls before the work is verified |
| 8. Finishes and closeout | Installation, punch list and final paperwork | Paying in full before the permit is closed |
Step 1: Define How You Want to Live Before You Choose a Single Finish
Every good remodel starts with a question that has nothing to do with marble: how do you want this space to work? Who cooks, and how often? Where do guests gather? Do you need a quiet place to work, room for aging parents, or a primary suite that feels like a retreat at the end of the day? At Ethicore, every project begins with a personalized consultation for exactly this reason. The answers shape the layout, and the layout shapes everything else.
- Write down what frustrates you about the space today, room by room.
- List your must-haves separately from your nice-to-haves.
- Decide how long you plan to stay in the home, since it changes how you weigh resale against personal taste.
- Gather images you love, but note why you love them: the light, the storage, the sense of calm.
The mistake: falling for a finish before the plan is settled. A showroom slab or a striking light fixture is easy to commit to, but if the layout changes later, it may not fit, or it may push the budget away from the work that matters more.
Step 2: Build a Budget That Includes What You Can’t See
The visible finishes are only part of a renovation’s cost. A large share goes to work that disappears behind drywall and tile: rerouted drains, new supply lines, framing changes, added circuits, exhaust venting, waterproofing and slab preparation. These are the parts that decide whether a beautiful room still performs in ten years. Our standard is simple: the parts you see and the parts you don’t are built to the same standard, and the budget has to reflect both.
- Set a total figure you’re comfortable with, and share it with your designer early so the design is drawn to it.
- Ask for a line-item budget, with any finish not yet chosen listed as an allowance.
- Hold a contingency for conditions found once walls and floors are opened. Ten to twenty percent is a common rule of thumb, toward the higher end for older homes.
- Account for costs outside construction: temporary housing, storage, and furniture or window treatments for the finished space.
The mistake: spending the contingency on upgrades before demolition begins. Once it’s gone, any surprise behind the walls has to come out of the finishes you cared about most. If you’re weighing which upgrades earn their keep, our guide to Tampa remodel cost vs. value is a useful companion.
Step 3: Assess the House You Actually Have
Plans drawn on assumptions tend to change on site. Before the design is finalized, someone should look closely at the structure and systems you’re building on. This matters even more in Tampa Bay, where many homes in neighborhoods like Old Northeast and Kenwood are decades old and coastal conditions are hard on materials.
- Structure: identify load-bearing walls, beam sizes and any sagging, rot or termite damage before you plan to move walls.
- Moisture: check slabs and subfloors for moisture before choosing flooring, and look for signs of past leaks around tubs, showers and windows.
- Plumbing and electrical: older drains, supply lines and panels may not support a larger kitchen, more circuits or new fixtures.
- Hazardous materials: homes built before 1978 may contain lead paint, and some older ceilings, flooring and adhesives can contain asbestos. Both should be tested before demolition.
- Flood zone: if the home sits in a flood zone, a large enough project can trigger the substantial improvement rule, often called the 50 percent rule, which may require bringing the whole structure up to current flood requirements.
The mistake: designing an open floor plan, then discovering what’s inside the wall. If removing walls is part of your vision, read our guide to open-concept remodel structural risks before you commit to the layout.
Step 4: Choose the Team and How It Works Together
There are two common ways to deliver a remodel. In the traditional route, you hire a designer, then put the drawings out to bid with builders. In design-build, one firm handles design and construction together, so the people drawing the plans are accountable for building them. Both can work. What matters is that someone owns the whole project, including coordination between trades, permits and inspections.
- Verify licensing and insurance yourself rather than taking them on trust.
- Ask who manages permits, inspections and the schedule, and who your day-to-day contact will be.
- Ask how changes are priced and approved once work is underway.
- Look at completed projects similar in scope and finish level to yours.
The mistake: choosing on price alone. The lowest bid often leaves out work that someone will eventually have to do. Our checklist for choosing a luxury remodeling contractor in Tampa walks through what to ask, and our permit management and design-build services page explains how we take on that coordination for our clients.
Step 5: Finish the Design and Select Everything Before Demolition
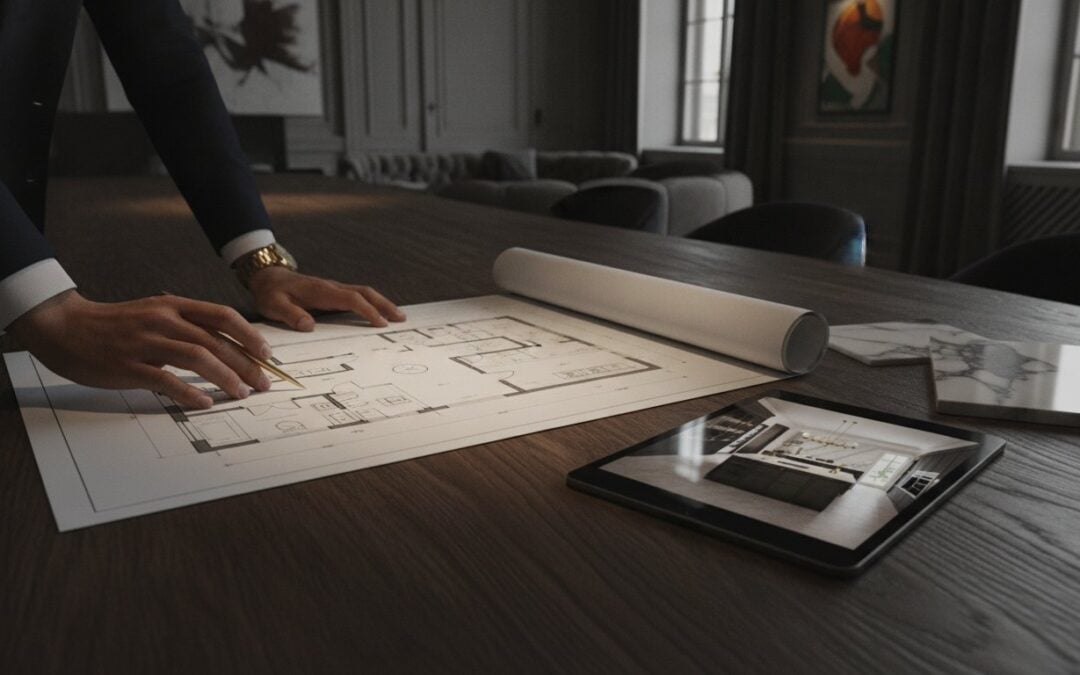
A complete design is more than a floor plan. It includes elevations for cabinetry and millwork, a lighting and electrical plan, plumbing locations, and every selection: tile, stone, flooring, fixtures, hardware, appliances, paint and trim profiles. When these are decided up front, trades can build to exact dimensions, and the budget reflects real prices instead of guesses.
- Confirm appliance and fixture specifications before cabinetry is drawn, so openings, valves and outlets land in the right place.
- Plan lighting in layers, and decide on smart home controls and AV prewire now, while walls are open.
- Review flooring transitions between rooms so heights line up without awkward thresholds.
- Sign off on drawings and selections in writing before work begins.
The mistake: leaving choices for later. Every decision made mid-construction risks a stalled crew, a rushed compromise or a change order. Thoughtful interior design and space planning up front is what lets the build move without interruption.
Step 6: Secure Permits, Order Early and Plan Your Household
Permits are not a formality. They’re how structural, plumbing, electrical and mechanical work gets reviewed and inspected, and an unpermitted remodel can resurface years later during a sale or refinance. In Florida, larger permitted projects also typically require a recorded Notice of Commencement before work starts.
- Submit drawings for permit, with engineered details wherever structure, windows or the roof change.
- Place orders for custom cabinetry, specialty fixtures, windows and stone early. These can take weeks or months to arrive.
- Schedule around hurricane season, which runs from June through November, especially for work that opens the roof, windows or exterior walls.
- Decide whether you’ll live at home during the work, and plan for a temporary kitchen, pets, noise and dust.
The mistake: starting demolition before materials are on order. A gutted kitchen waiting on cabinets is the most common reason a project stalls, and it’s almost always avoidable.
Step 7: Demolition and Rough-In: Where Costly Mistakes Hide
Once walls and floors are opened, the real condition of the home becomes clear. This is where framing is adjusted, drains and supply lines are run, circuits are added, ductwork and exhaust venting are routed, and low-voltage wiring is pulled. It’s also the stage that most affects how the finished space performs, because none of this work is easy to reach again.
The Rough-In Checklist
- Protect the rest of the home from dust and damage before demolition begins.
- Review any conditions found behind walls with your team before deciding how to proceed.
- Confirm drain slopes, valve heights, outlet locations and blocking for vanities, grab bars, shelving and heavy fixtures.
- Waterproof showers and wet areas properly, and test before tile goes on.
- Pass rough inspections before insulation and drywall go up.
- Photograph every open wall. Those images are invaluable for future repairs.
The mistake: closing walls too soon. A missed piece of blocking or a valve set at the wrong height is a small fix with the wall open, and an expensive one once tile is set. On our bathroom remodels, our design-build team handles the plumbing, waterproofing, permits and finish work together, so these details are checked by the same people who are accountable for the finished room.
Step 8: Finishes, Punch List and Closeout
Finishes are the stage everyone looks forward to: drywall and paint, cabinetry and millwork, stone, tile, flooring, trim, fixtures and lighting. Sequence matters here too. Heavy work goes in before delicate finishes, and completed surfaces need protection while trades are still on site.
- Inspect cabinetry, stone and tile as they arrive, before they’re installed.
- Walk the space with your team and build a written punch list of anything that needs attention.
- Confirm the final inspection has passed and the permit is closed.
- Collect warranties, product manuals, paint colors and finish specifications for your records.
- Before final payment, request lien releases for work and materials supplied to your home.
The mistake: paying in full before everything is finished and documented. An open permit or a missing lien release can follow the house long after the crew has gone.
Building It Right from the First Step
A renovation checklist won’t make decisions for you, but it will make sure they’re made in the right order. Settle how you want to live, budget for the whole job, understand the house, choose a team that owns the details, finish the design before demolition, and verify the work at every stage. That sequence is what separates a remodel that feels effortless from one that feels like a gamble.
With more than 40 years of experience and over 1,300 completed projects, our team brings design and construction together for luxury home remodeling in St. Pete and Tampa, from single rooms to full home remodels. If you’re starting to plan, we’d be glad to walk through your project with you.
Book your free consultation with Ethicore.Frequently Asked Questions
What is the correct order of a home renovation?
Plan first, then build from the structure outward. Define your goals, set the budget, assess the home, choose your team and complete the design and selections. Then secure permits and order materials, demolish, complete structural work and rough-in plumbing, electrical and mechanical systems, pass inspections, and only then move on to drywall, cabinetry, tile, flooring, paint and fixtures.
How much contingency should I budget for a renovation?
A contingency of ten to twenty percent of the construction budget is a common rule of thumb. Older homes, projects that open many walls, and homes with known moisture or structural issues sit toward the higher end. Treat it as protection for unknown conditions, not a fund for upgrades.
Should I live in my home during a renovation?
It depends on the scope. Many homeowners stay through a single bathroom or a kitchen remodel with a temporary kitchen set up elsewhere. For a whole-home renovation, or work involving lead or asbestos abatement, moving out is often safer, quicker and less stressful. Discuss it with your team early so the schedule and dust protection can be planned around your choice.
What is the biggest mistake homeowners make when renovating?
Starting construction before the design and selections are complete. It leads to mid-project decisions, delays waiting on materials and change orders that strain the budget. Finishing the plan first, and letting the house be properly assessed before you commit to a layout, prevents most of the problems people associate with remodeling.